
Content used for this quick tutorial:
- Third person starting content
- Animation Starter Pack | Download Here
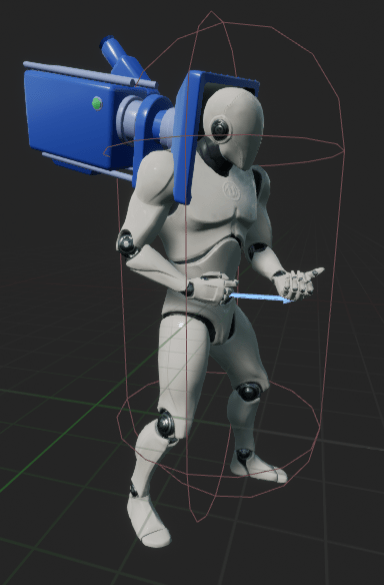
Open your Character Blueprint (blueprint that’s a child BP of character). In the Components Pane, add your camera. Add Component > Camera. Name it appropriately (i.e.: “FPSCamera”).

Parent / Attach Camera to the Character Mesh

Select the camera. In the Details Pane, under Sockets section, set Parent Socket to a bone (i.e. “head”)

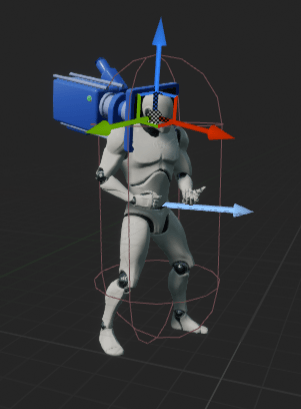
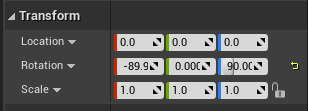
Make sure the camera is pointing to the correct direction, correct it by adding rotation to your Rotation under Transform in Details Pane
Now to make your camera reflect your input, go to Details Pane > Camera Options set Use Pawn Control Rotation to true

Finally, to avoid a “wiggling camera” when the character does an w-s movement, select your CharacterMovement Component go to the Details Pane > Character Movement (Rotation Settings), disable Orient Rotation to Movement

Your camera should be usable as an FPS window now. You just have to make sure it is enabled on startup or have a way to.

Alternate Implementation:
Blueprint Driven FPS Camera
This implementation has the same effect and outcome. Only difference is it establishes a capability to allow you to modify the Transform of a camera for later when you have systems that needs to modify the camera (e.g. Camera Shake, Gun Recoil, etc.)
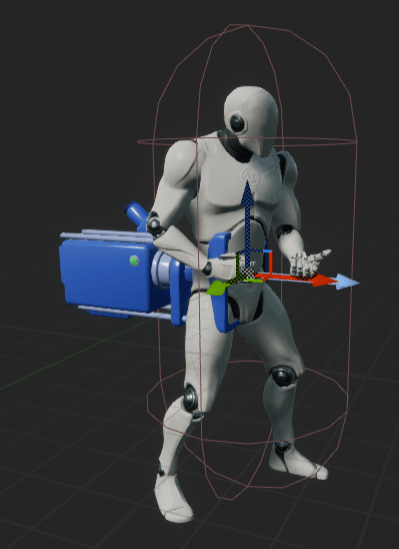
Like the earlier implementation, open your Character Blueprint and add a Camera component in your Components pane. But this time do not parent / attach it to the Character mesh, place it outside of the mesh (can be attached to Capsule or the Actor itself)

Open the EventGraph in the My Blueprint pane. Find the “Mouse Input” section. Follow the blueprint below:

